
Installation Guides
Installation Guides
A practical starting point for setting up automotive electronics with a clean installation, clear controls and an uncluttered vehicle interior.
Review the product
Identify the device, connection method and supplied accessories before beginning installation.
Prepare the vehicle
Park safely, organize the installation area and review the relevant vehicle information before connecting equipment.
Connect with care
Keep cables, mounts and devices clear of controls, visibility areas and safety systems.
Test before driving
Confirm that the device powers correctly and remains secure before using it on the road.
Installation should feel integrated, not added on.
Positioning, cable management and access to the correct connection point all contribute to a cleaner setup. Product-specific instructions should always take priority over general guidance.
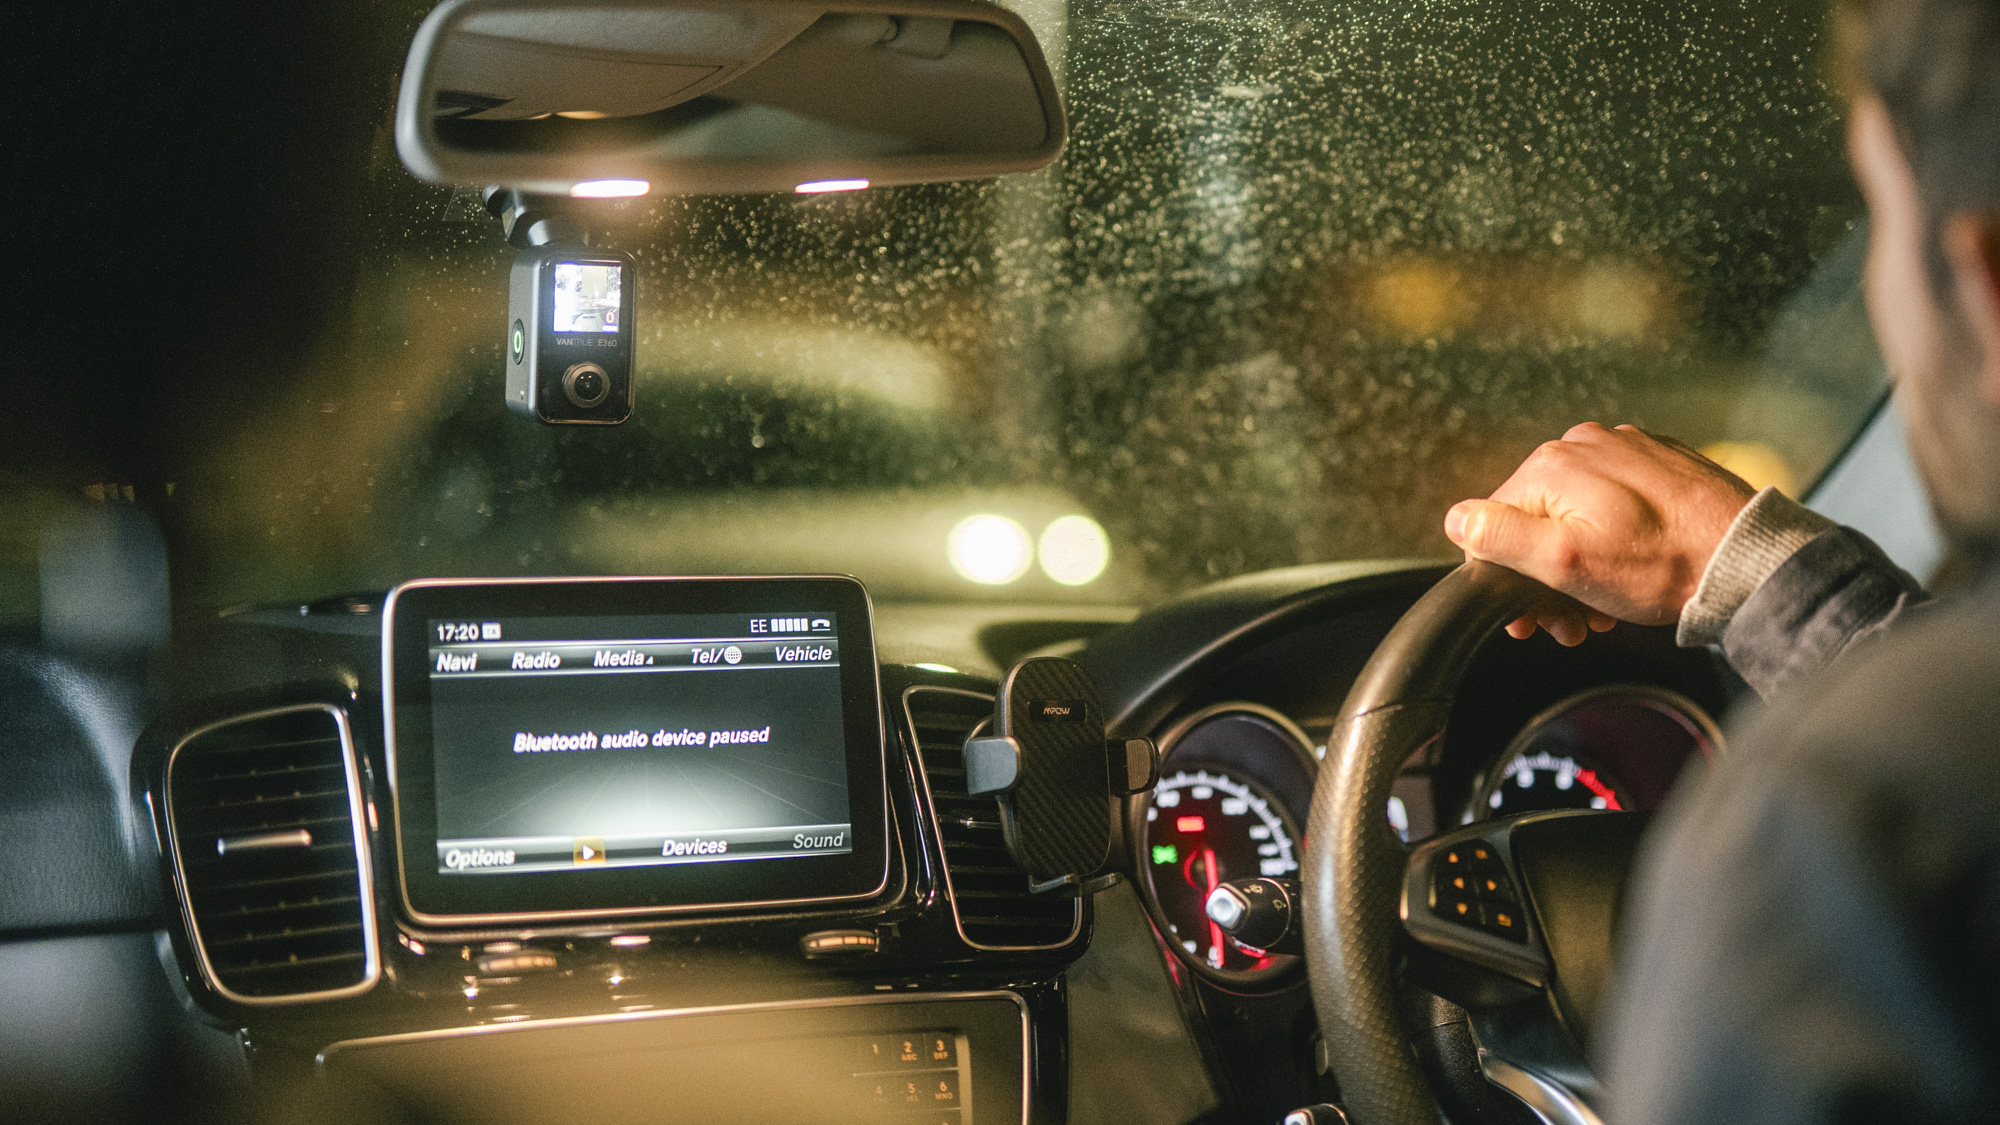


Start with the right installation path.
These steps provide general preparation guidance for common Routiva product categories. Always follow the instructions supplied with your specific device and consult your vehicle documentation when required.
Dash Cameras
Focus on a stable viewing position, clean mounting surface and cable route that stays away from the driver's normal line of sight and vehicle safety systems.
Choose the location
Select a position that gives the camera a clear road view without creating an unnecessary obstruction.
Prepare the surface
Clean and dry the mounting area before attaching an adhesive or suction mounting system.
Route the cable
Keep the power cable organized and away from pedals, controls, moving trim and airbag deployment areas.
Check the view
Power the camera, review its framing and confirm that the mount remains secure before driving.
Wireless CarPlay & Connectivity
Connectivity devices are usually straightforward, but the correct vehicle data port and the product's pairing sequence should be confirmed first.
Confirm the connection
Identify the connection required by your specific device and locate the correct compatible vehicle port.
Connect the adapter
Insert the device without forcing the connector and keep it positioned where it will not interfere with cabin controls.
Begin pairing
Follow the product instructions for Bluetooth, Wi-Fi or infotainment pairing where those connections are required.
Verify operation
Confirm that the display and connection behave as expected before relying on the setup during a drive.
OBD2 Diagnostic Devices
Diagnostic tools connect to a dedicated vehicle diagnostic interface. Port position can vary, so vehicle documentation should be checked when the location is not obvious.
Locate the port
Find the vehicle's diagnostic connector using the vehicle manual if necessary rather than removing trim unnecessarily.
Inspect the connector
Make sure the port and device connector are clean, undamaged and correctly aligned before connection.
Connect gently
Insert the diagnostic device in the correct orientation and avoid forcing the connector into position.
Follow device prompts
Use the instructions supplied with the diagnostic tool for ignition state, pairing and reading vehicle information.
Charging Mounts & Cabin Devices
Choose a stable location that keeps frequently used technology accessible while maintaining a clean view of the road and vehicle controls.
Select the position
Choose a secure mounting point that does not block important displays, switches or the driver's field of view.
Secure the mount
Install the mounting system according to its supplied instructions and confirm that it does not move under light pressure.
Manage power
Route the power cable so it remains clear of controls, pedals and moving vehicle components.
Test the setup
Place the device in the mount, confirm charging or power operation and check stability before driving.
Protect the vehicle first.
General guides cannot account for every vehicle, product or electrical configuration. When a step differs from the instructions supplied with your device or vehicle, use the product-specific information instead.
Setup questions, answered clearly.
Product design and vehicle configuration can vary. These answers are intended as general guidance rather than a replacement for the instructions provided with a specific device.
Should I install the product before reading its manual?
Can every Routiva device be installed in the same way?
What should I do if I cannot find the correct connection point?
Should cables be hidden behind vehicle trim?
When should I use a professional installer?
Need help before installing your device?
Contact Routiva with your product and order information so our team can better understand your question and point you toward the available product guidance.